


DIY Jewellery with Shrink Plastic!
Shrink Plastic, is like magic! Heating, curling and shrinking...all right before your eyes! You can use Shrink Plastic on anything, from Embellishing a card to crafting Shrink Plastic Jewellery...Shrink Plastic adds a fun whimsical flair to any project.
I thought Id create a little flair by adding a something whimsy to a few customized jewellery pieces! I have used the Sunflower Sizzix Bigz Die Cutting Set from our Sizzix Chapter 2 release and of course, Sizzix Shrink Plastic. You can accessorize some Shrink Plastic Jewellery for yourself or gift a friend a handmade present!

What you will need:
- Sizzix® Big Shot® Machine (660200)
- Sizzix® Bigz Die - Sunflower (665191)
- Sizzix Accessory - Glue Gun
- Sizzix Accessory - Glue Gun Sticks, 6", Clear, 20PK (664821)
- Sizzix Accessory- Glue Gun Accessories (663005)
- Sizzix Accessory - Shrink Plastic Accessories (663466)
- Sizzix Making Essential - Permanent Pens, Assorted Colors, 12 Pack (663056)
- Sizzix Making Tool - Scissors, Small (664818)
- Sizzix Making Tool - Die Pick (White) (656380)
- Sizzix Surfacez - Shrink Plastic Sheets 10PK (663052)
- Sizzix Tool - Heat Tool, Dual Speed
- 1/8 or larger Hole Punch
- Metal Earring Findings (2 ear wires, 3 jump rings)
- Needle Nose Pliers
- Ribbon (Brown) 1/4, cut to 24
How to make Shrink Plastic Earrings:

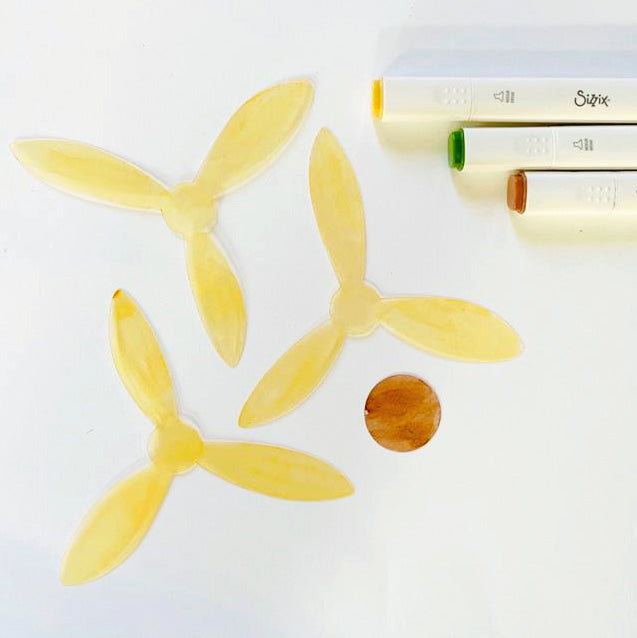
- Die-cut out of Shrink Plastic, two of the large 3-prong petals, six of the 6-prong flower petals and two of the circle flower center from the Sizzix Bigz Sunflower die.

2. On the matte (non-shiny) sides of the die cuts, color a desired flower tone using permanent markers. For this project, I colored the six-petal pieces the tan color from the Sizzix Permanent Pens, on the two 3-petal pieces the dark green marker and on the circles the brown marker. Cut away the petals from the circle center on the dark green 3-petal pieces to create individual leaves.

3. At the top of the widest prong of two on the 6 prong flower centers, punch a hole. With needle nose pliers, add jump rings to each punched hole and then attach ear wires to each jump ring.

4. On top of the Silicone Mat, from the Shrink Plastic Accessories, shrink each piece with the heat tool one at a time. Once shrunk down, flatten the pieces with the pressing tool from the Shrink Plastic Accessories. Repeat this process with the die cut circles. While still warm enough to touch, quickly poke holes on the brown circles with a die pick to add texture.
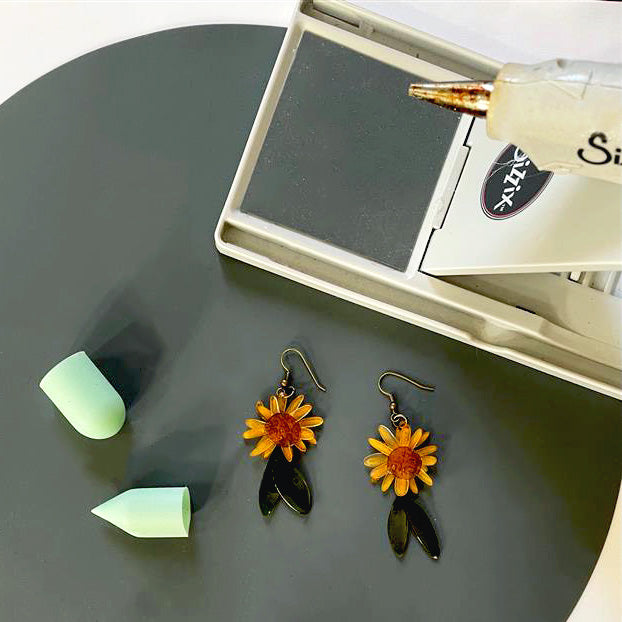
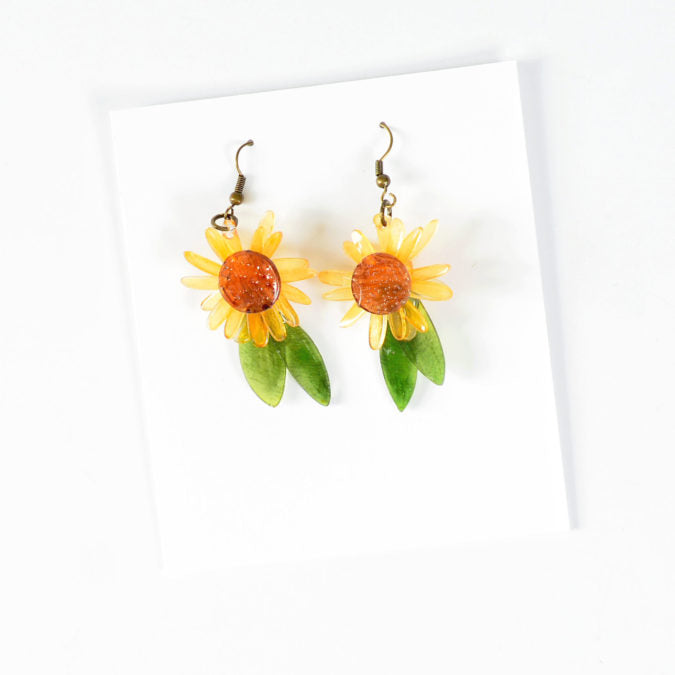
5. Adhere two flowers on top of each ear wired flower with hot glue. Then adhere one brown circle to the center of the stacked flowers and two green leaves to the backside of sunflower with hot glue.
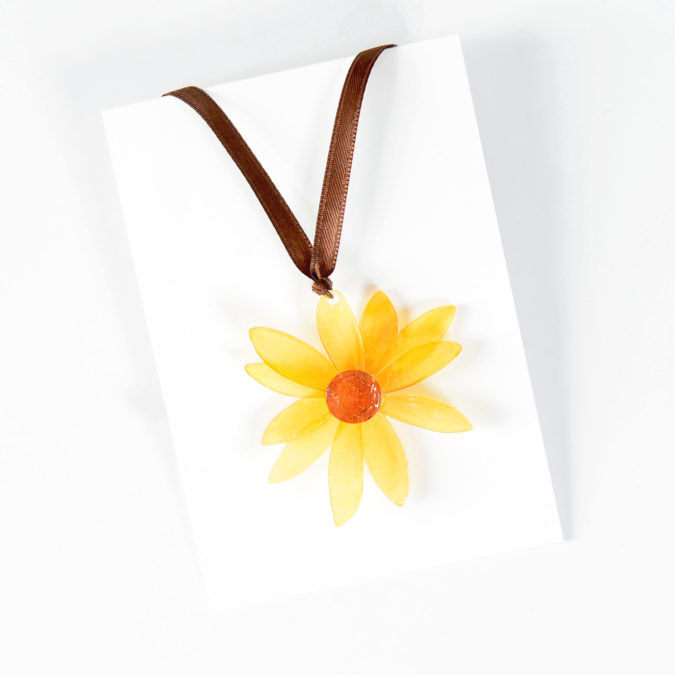
How to make a Shrink Plastic Necklace:
- Die-cut out of Shrink Plastic, three of the large 3-prong petals and one of the circle flower centers from the Bigz Sunflower die. On the matte (non-shiny) sides of the die cuts, color a desired flower tone using permanent markers. Color the 3-prong sunflower layers using a tan hue marker and the circle with a brown marker.
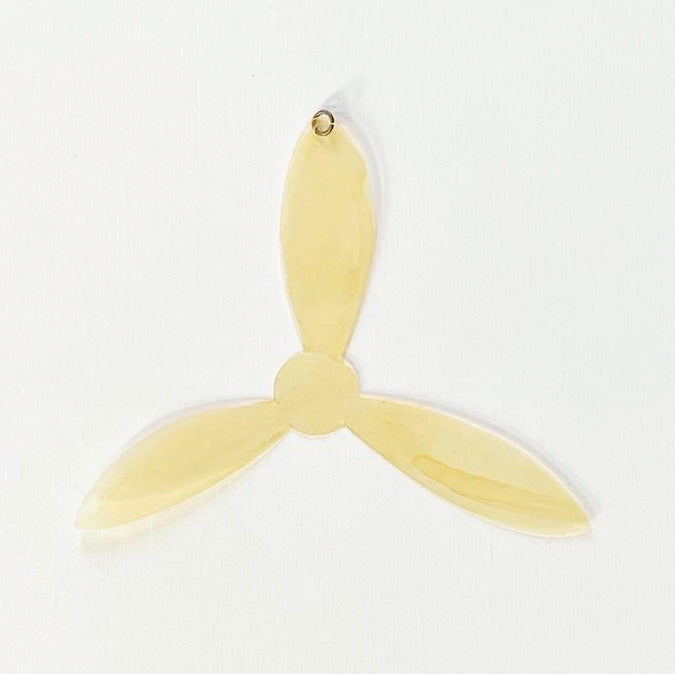
2. At the tip of one of the widest prongs punch 1 hole. With needle nose pliers, add one jump ring through the punched hole.
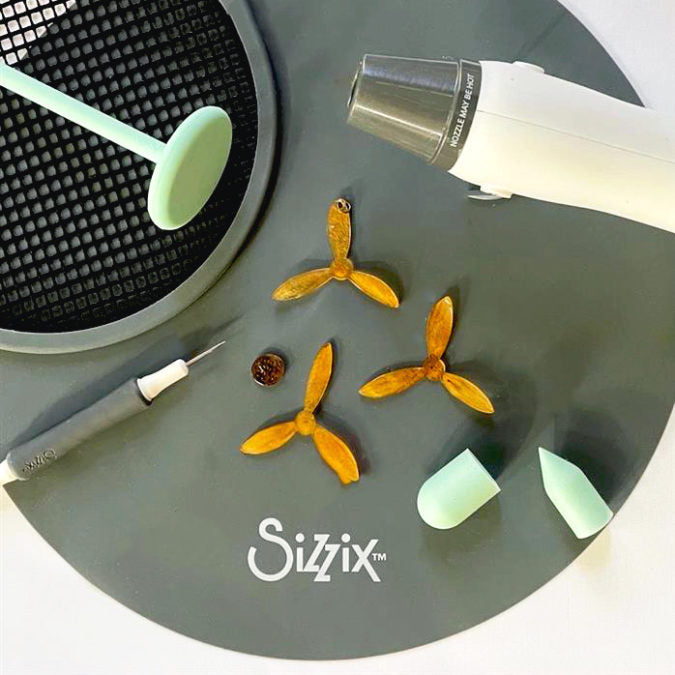
3. On top of the Silicone Mat, from the Shrink Plastic Accessories, shrink each piece with the heat tool one at a time. Once shrunk down, flatten the pieces with the pressing tool from the Shrink Plastic Accessories. Repeat this process with the die cut circle. With finger protectors from the Glue Gun Accessories on, and while still warm, quickly poke multiple holes in to the shiny side of the brown circle to create texture with a Die Pick.
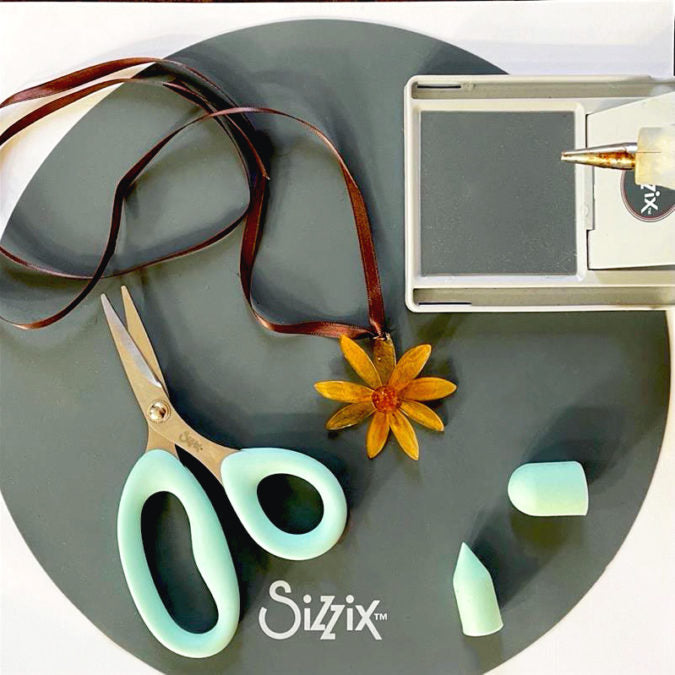
4. Adhere each flower on top of each other, alternating the petals, with hot glue. Adhere the brown center to the center of the flower. Fold a ribbon in half and thread a loop through jump ring. Create a slip knot by holding 2 loose ends together and drawing them through the loop. Gently pull to tighten.
I hope that these projects have inspired you to craft some DIY Shrink Plastic Jewellery to add to your jewellery box. With the assortment of colors in our permanent pen set along with the variety of floral dies, the possibilities are endless! Reds with poinsettias and pinks with any simple florals, youll be styled for every season!
Share your makes with us using the hashtag #mymakingstory
Id love to hear what amazing projects everyone creates using Shrink Plastic.


