


How to make a Decorated Tree
Our favourite time of year is fast approaching and who doesn't love Christmas Trees? We certainly do at Sizzix!
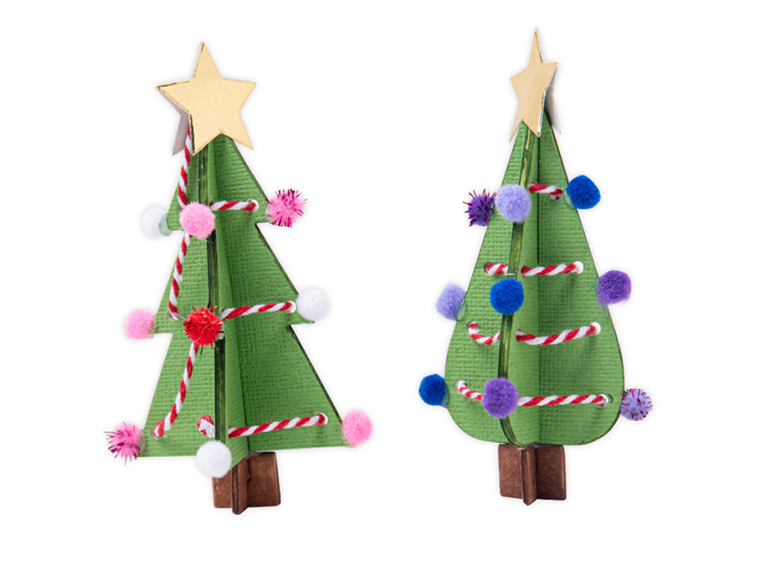
This super fun simple make is perfect for getting your little ones ready for the festive cheer! Our Decorated Tree creative play project is brilliant for engaging adults and children of all ages. Get inspired with the decorations and colors for a wonderful home décor gift for a family member. Easy to make with only a small amount of supplies. You can never have too many Christmas Trees!
You will Need
- Sizzix Bigz Die Tree Ornaments (665962)
- Sizzix Surfacez - Muted Cardstock (665695)
- Sizzix Surfacez - Opulent Cardstock Gold (664532)
- Sizzix Making Essential - Mat Board (656492)
- Colored pens (brown & green)
- Glue
- Hole punch
- String/ribbon
- Pom Poms
How to make:
- Die cut the tree ornament die set twice from mat board and twice from green colored cardstock.
- Layer and adhere the tree die cut pieces together using glue, making sure to create a sandwich on two mat board tress back to back with the green trees either side to cover the white mat board.
- Continue this layering and gluing of the trees until you have the two pieces finished for each tree design which you can then slot together to create a 3D tree.
- Before slotting the trees together, using a hole punch, punch 3-4 holes along each side of the layered tree die cut pieces.
- Slot the trees together to make it 3D.
- Using a green pen, color in the edges of the trees to cover up the white edges and make them blend in with the green cardstock.
- Thread string/ribbon through the holes around the tree to create decoration on the tree, starting from the top and working your way down and tying off the string/ribbon once you have reached the last hole.
- Die cut the rectangle base element four times form mat board and layer and adhere two together using glue so you are left with two thicker rectangles.
- Color the rectangles on each side using a brown pen and slot them together to create a 3D tree trunk for your tree.
- Adhere the tree trunk to the base of the tree using glue.
- Die cut two star elements from the tree ornament die using gold cardstock and adhere them back to back at the top of the tree using glue.
- Adhere pom poms to the edges of the tree using glue to complete your decorated tree.
Thank you for reading this blog, we hope you got some creative inspiration for your Christmas makes this season. Remember to tag #MySizzixStory in your makes for a chance to feature on our social channels.
-
Posted in
Home Décor, Tutorials and Inspiration


