Clean vs Distressed card making using the Spring Has Sprung Die Set
In this blog, I create two card making projects using the same Sizzix Spring Has Sprung Die Cutting Set to create two different effects - clean and distressed. This demonstrates that the possibilities really are limitless! My resolution this year has been to push myself out of my comfort zone with my projects. As card makers we tend to find a style that works for us, that we enjoy and can do well and stick to it. But that doesn't mean you can't apply the same principles (composition, balance and layering) to a different style.
I feel confident in my clean, modern style of card making but I also admire the distressed style often used by the talented Mr Tim Holtz. In my quest to up my Mixed Media game I decided to create two cards in different styles, but using the same die set.
Take a look below to see how it went...
You will need:
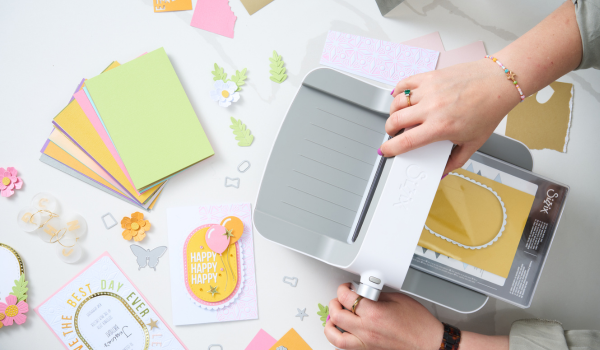
- Sizzix® Die Cutting Machine
- Sizzix® Thinlits® Die Set 15PK - Spring Has Sprung
- Sizzix® Surfacez - Cardstock, 8 1/4" x 11 3/4", 20 Assorted Colors, 80 Sheets
- Sizzix® Surfacez - Patterned Paper, Color Story, 80 Sheets
- Sizzix® Multi-Tool Accessory - Blending Tool Head w/Replacement Sponge
- Sizzix® Making Essential - Foam Tape
- Sizzix® Making Essential - Express Glue, 120ml
- Sizzix® Effectz Multimedia Mat
- Sizzix® Effectz Luster Wax
- Sizzix® Effectz - Creamy Mat Acrylic Paint, Black, 60ml
- Ranger Walnut Stain Oxide Pad 3" x 3"
- Ranger Mustard Seed Oxide Pad 3" x 3"
- Ranger Speckled Egg Oxide Pad 3" x 3"
- Spray water bottle
- Ivory cardstock
- White cardstock
- Calligraphy style stamp
- Paper trimmer
Step-by-step instructions for my clean design:
Step 1:
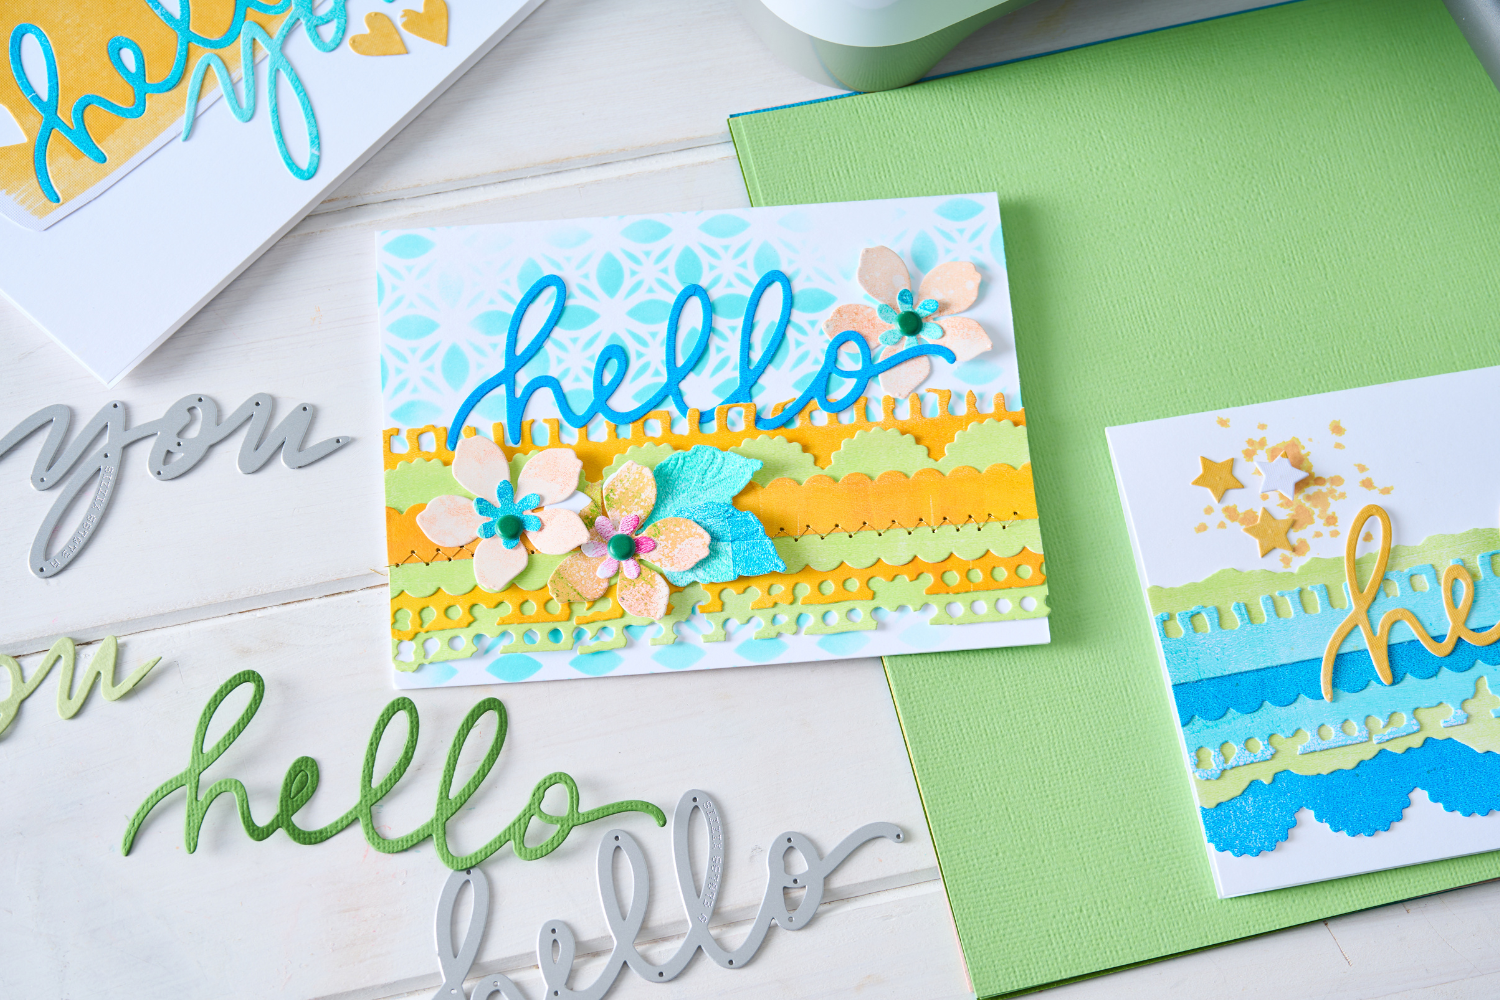
Begin by cutting some irregular shapes in contrasting colors of Sizzix Textured and Patterned Cardstock. For my make, I cut three abstract rectangular shapes of three different sizes.

Step 2:
Assemble the three abstract rectangular shapes so that they are centered and overlap each other and so the strip on top has added dimension. Adhere them together using Sizzix Foam Tape to create the dimension.

Step 3:
Next, die cut the bunny and sentiments elements from the Sizzix 'Spring Has Sprung' Die Set and assemble the bunny by adding the inner ear and the neck scarf elements. After that, add the sentiments using Express Glue and the assembled bunny element using foam tape for added dimension.

Step 4:
Finally, die cut and add your egg and floral sentiments and butterfly. I prefer to limit the number of florals I use, choosing to add just a few, well-placed elements to balance the composition. Less is more has always been my favorite approach with clean cards.

Step-by-step instructions for my distressed design:
Step 1:
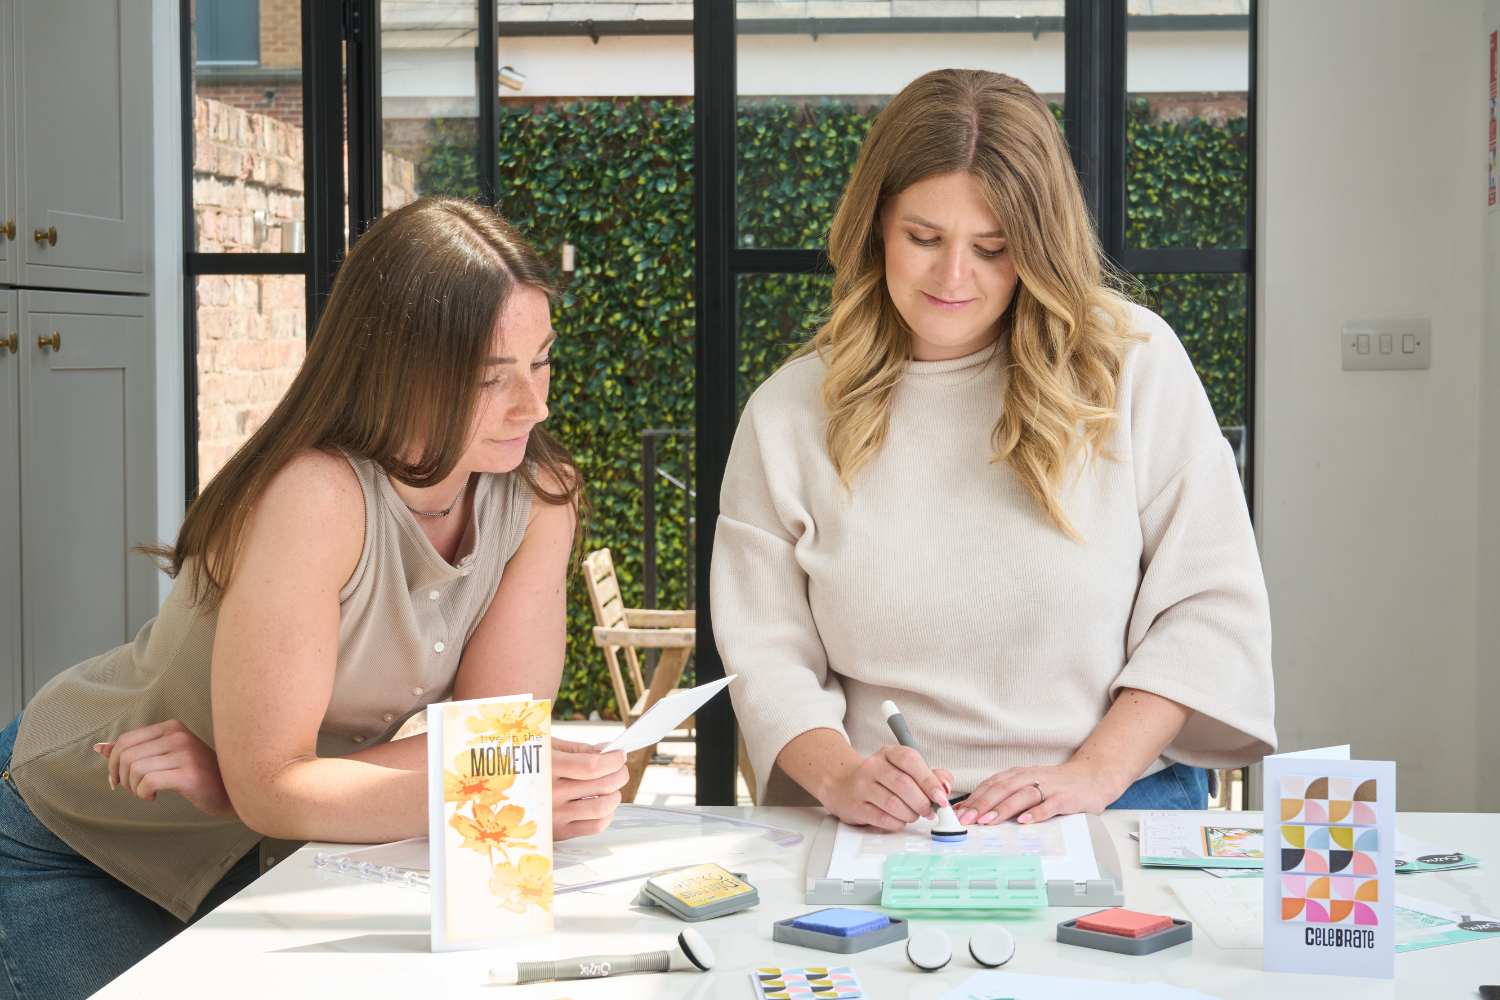
For this make, cut a rectangle out of Ivory Cardstock. Then using your Sizzix Multi-Tool with blending head, ink from the corners inwards, gradually getting lighter. This effect will distress the card and make it look old and worn. For this, I used Walnut Stain Distress Oxide by Tim Holtz, but any brown color will work.

Step 2:
Using a calligraphy-style stamp and the same distress oxide to stamp over the inked card rectangle.

Step 3:
Apply two or three different colors of Distress Oxide Inks directly onto your Sizzix Multimedia Mat. Spray each color with water so that colored droplets form on the surface. Then, apply a sheet of white cardstock directly onto the different inks so that they transfer onto the card with the colors mixing in places. Allow this sheet time to dry.

Step 4:
Next, die cut the inked area from the previous step using the Large Egg Framelits element from the Sizzix 'Spring has Sprung' Die Cutting Set.

Step 5:
Now die cut some floral elements from the same die set. A top tip is to try to keep the dies inside the card from which they were cut. This will make it easier to apply Sizzix Luster Wax to the die-cut florals and foliage without getting any on your Multimedia mat. It also holds the element in place.
I chose to add gold and silver Luster Wax. As always, I add very small amounts of Luster Wax and build the layers slowly until I am happy with the effect. Just be aware, it is so easy to add too much!

Step 6:
Before adding your layered die cut elements, I chose to wrap some twine around my card element. Then I built up the elements on my card base using express glue and foam tape to add dimension. I chose to print my sentiment this time for a different look.

Step 7:
Although I like the card as it is currently, I decided to add another effect for another layer of mixed media techniques. I applied some Sizzix Black Creamy Acrylic Paint to my Multimedia Mat and watered it down with a Spray Bottle.

I then lifted some of the watered-down Paint onto a Palette Knife and used it to splatter some of the paint over an area of my composition to add liveliness and a Mixed Media feel.

Step 8:
Finally, fold a sheet of A4 Black Card in half and trim to the correct size using a paper trimmer or craft knife and ruler. The folded card should be big enough that it creates a 3mm border around your card front. Then add this to your card front using Foam Tape and your card is complete.

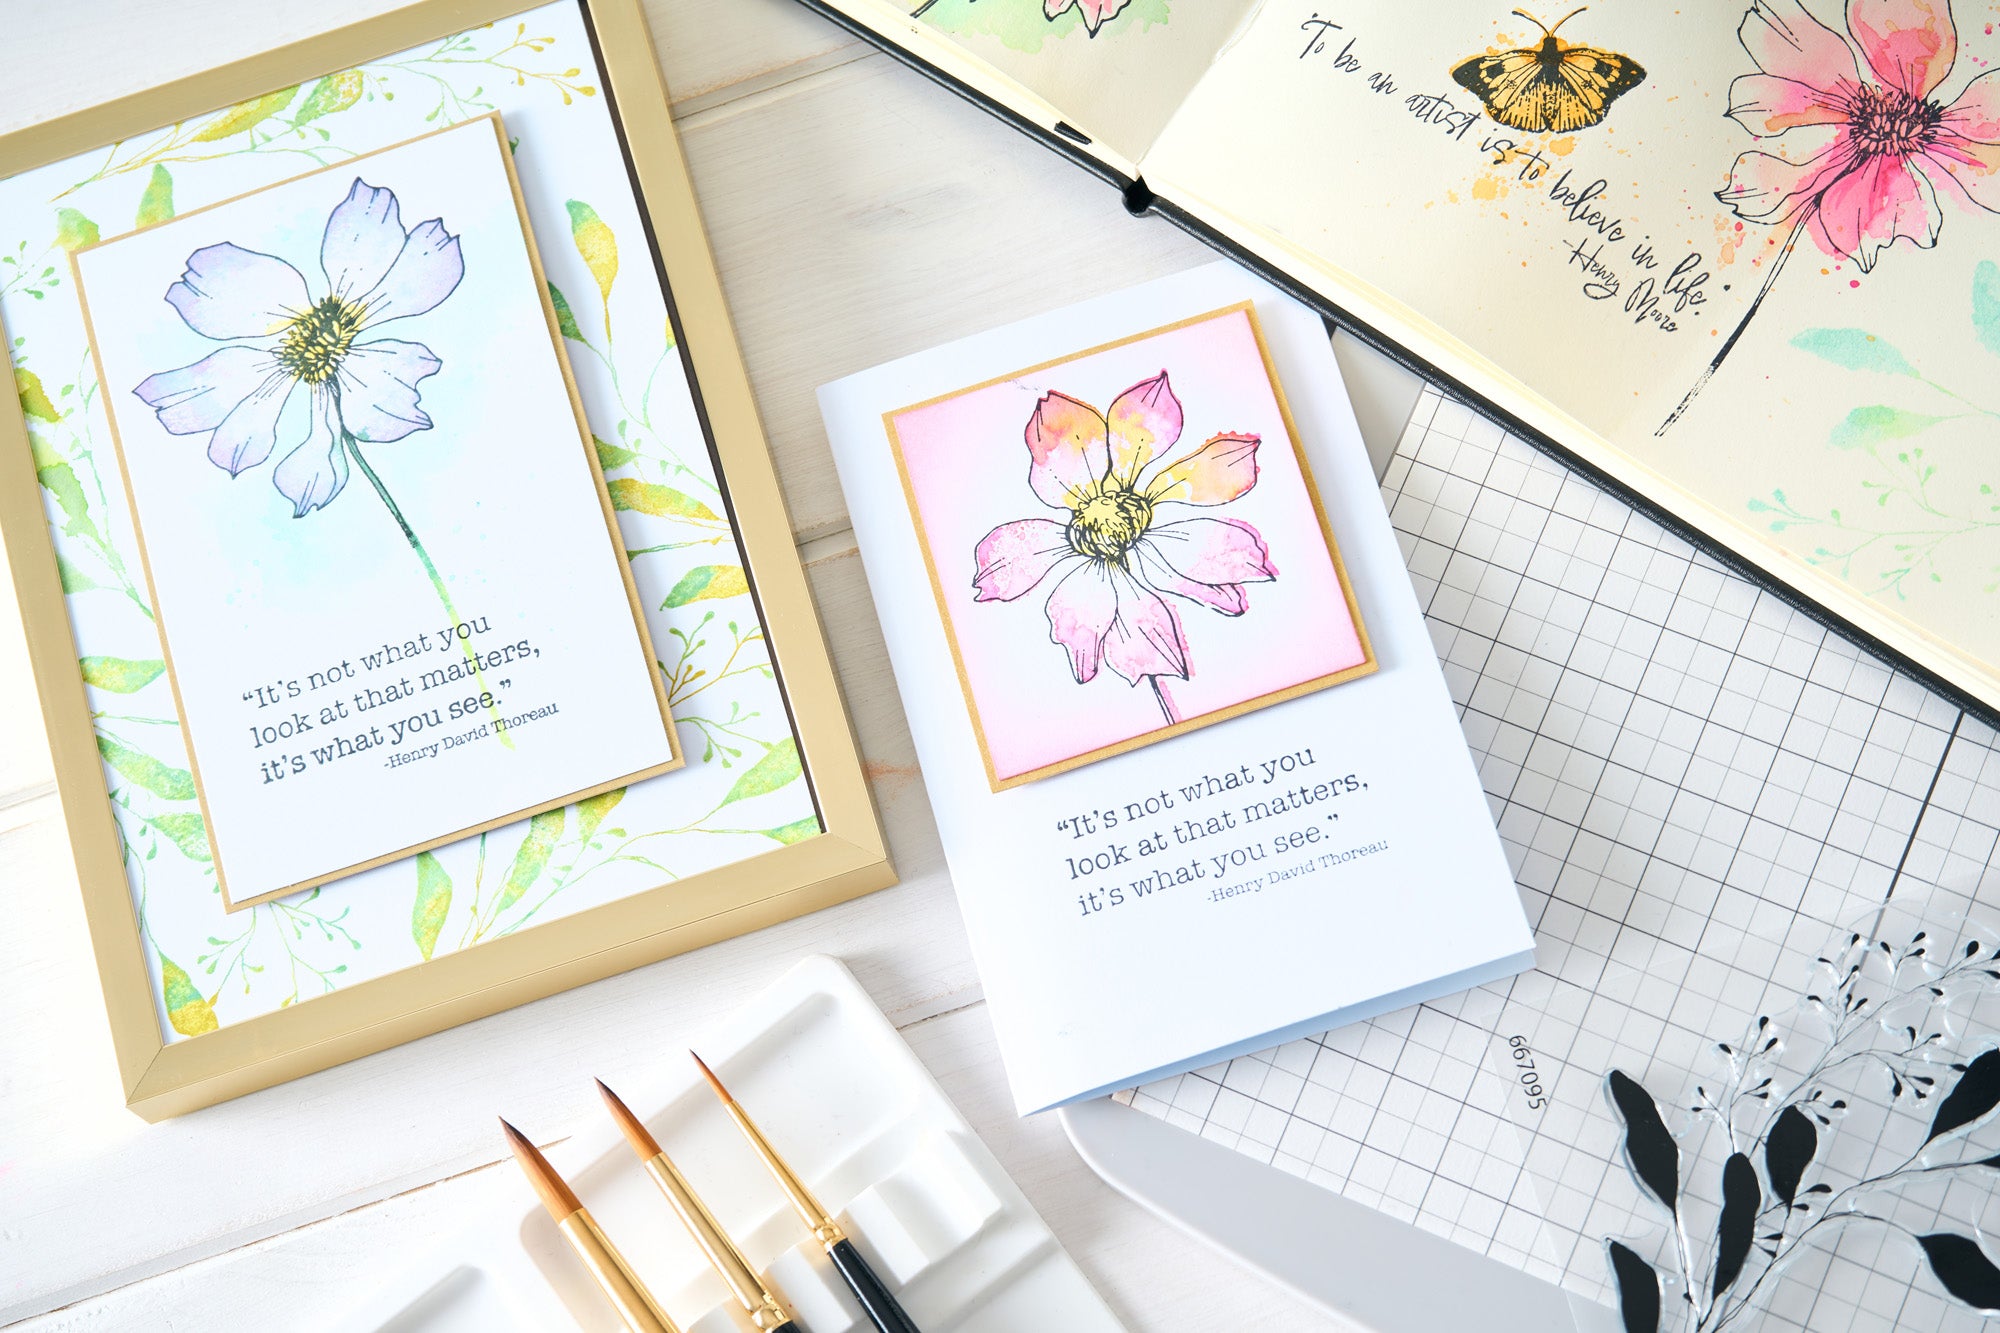
The Finished Cards
So, here they are... two very different styles of card design using the same principles and die set. For both, I have used the style of composition, layering and balance that I am confident with, but chose different techniques, colors and themes for each.
I am really happy with both of these. I hope you like them and enjoyed reading this Clean vs Distressed Blog! Remember to tag us in your makes using the hashtag #mymakingstory for a chance to feature on our social channels. Use code JOSH20 at checkout for 20% off the Sizzix items I have used today in my Clean VS Distressed makes.

-
Posted in
Cardmaking, Tutorials and Inspiration