How to: Celestial Box Card
Throughout this blog I am going to break down step by step how to make this amazing Celestial box card using the brand new Celestial Box card set (665476) from chapter 4.
This Sizzix Celestial Box Card by Olivia Rose can be used to craft a pretty, astronomical shadow box-style card, and comes complete with a cloudy setting, a crescent moon, stars and trees and a hilly landscape so you can really make it your own by changing up the colors and the composition to create your perfect celestial scene!
You Will Need...
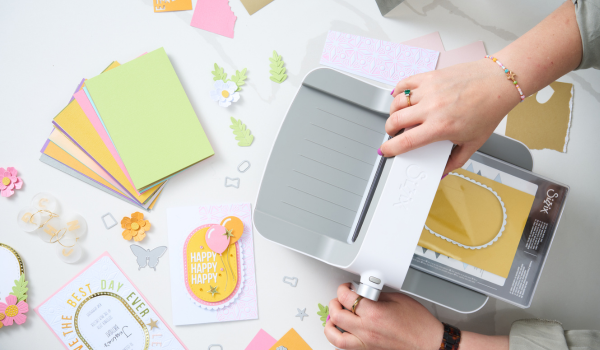
- Sizzix Big Shot Machine (660200) or Sizzix Big Shot Express Machine (660850) or Sizzix Big Shot Foldaway Machine (662220)
- Sizzix Thinlits Die Set 10PK - Celestial Box Card (665476)
- Sizzix Surfacez - Cardstock, 8 1/4" x 11 3/4", 20 Assorted Colors, 80 Sheets (663007)
- Sizzix surfacez - The Opulent cardstock pack, Silver 50PK (664533)
- Sizzix Making Essential - Express Glue 120ml (664576)
- Sizzix Making Essential - Foam Tape (663709)
- Sizzix Making Essential - Makers Tape 2PK (663473)
- Sizzix Making Essential - Permanent Adhesive Roller (663474)
How To...
1. Die cut 2x artic sky squares, 1x Bluebell square and 2x arctic sky tab pieces.

2. Fold the tabs along the score lines and adhere them to one of the artic sky squares using the permanent adhesive roller. Place the bluebell square directly over the artic sky square using the adhesive roller to cover and further secure the tab elements.

3. Place the circle, cloud element and the star elements onto the second arctic sky square and secure them in place using makers tape before rolling it through your machine.

4. Die cut the moon from silver glitter opulent cardstock, the star consolation from limoncello cardstock and the extra cloud from artic sky cardstock. Place the aperture elements over the bluebell square for guidance and adhere the moon, star and cloud elements onto the bluebell square using express glue and foam tape, making sure you can see the elements through the aperture.

5. Adhere the artic sky square with the aperture detail onto the front tabs using express glue two complete the cube shape.

6. Die cut the curved tab element and the small trees from artic sky cardstock and adhere the trees along the curved line using express glue. You may want to cut multiple trees out to fill out the scene but remember to save a couple as you will want these later.

7. Fold the tab along the score line and adhere the tab to the inside base of the cube shape using express glue, so that you can see the curved line and the trees through the aperture.

8. Adhere a few extra trees in the foreground of the scene using express glue, just behind the first layer, to create depth within the scene.


Thank you for reading this blog, we love to see your creations! Tag us in your makes using the hashtag #mymakingstory.
-
Posted in
Cardmaking, Tutorials and Inspiration