Mixed Media Project Using the Sizzix Multimedia Mat
I am so excited that I can finally talk about the Sizzix Multimedia Mat! Its perfect for a multitude of projects, but I cant even begin to explain how helpful it was when I made this Mixed Media project! The smooth, matte surface is a perfect working area for using the whole range of Sizzix Effectz products, including the Luster Waxes, Acrylic Paints, Adhesive Pastes and even the Tim Holtz Ranger Distress Inks (Ive used these in my project).
Mixed Media is a passion of mine and is one of the best crafts for beginners! It provides an opportunity to try new techniques and materials, and quite often you will create an interesting effect completely by mistake. This project is a simple one to get you started on your Mixed Media journey and you dont need any materials that are too out of the ordinary.
What youll need to create your own Mixed Media project:
- Sizzix® Effectz Multimedia Mat
- Sizzix® Thinlits Die Set 11PK - Quirky Animals
- Sizzix® Making Essential - Foam Tape
- Sizzix® Surfacez - Cardstock , 8 1/4" x 11 3/4", 20 Assorted Colors, 80 Sheets
- Sizzix Clear Stamps Set 6PK - Positive Signs
- Sizzix Making Essential - Ink Pad, Black (Pigment) & Acrylic Block
- Spray Water Bottle
- Brayer
- Tim Holtz Ranger Mini Distress Inks
- White card
Step-By-Step Instructions
Step 1.

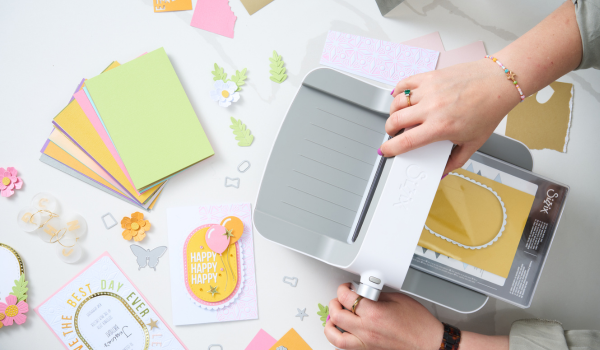
The Multimedia Mat comes rolled for easy storage, but once unrolled the shiny silicone backing allows it to secure to your work surface perfect for getting on with your craft projects. For this project, I used multiple different colors of Tim Holtz Ranger Mini Distress Inks. Using the Distress Ink containers, I pressed each color into the larger work area of the Multimedia Mat creating a 3 x 4 array of stamped squares, making sure no square is next to the same color square.
Step 2.

Take a sheet of Scrap Card and lay it over the stamped colors. Using a Brayer lightly roll over the inked area and then take the card away. This will take off the majority of the ink leaving a faded impression of the stamped ink squares.
Step 3.

Spray the inked area with a Spray Water Bottle so that all squares are covered. Then repeat the technique from previous step. This will transfer the faded ink squares onto your White Cardstock. Allow this to dry completely.
Step 4.

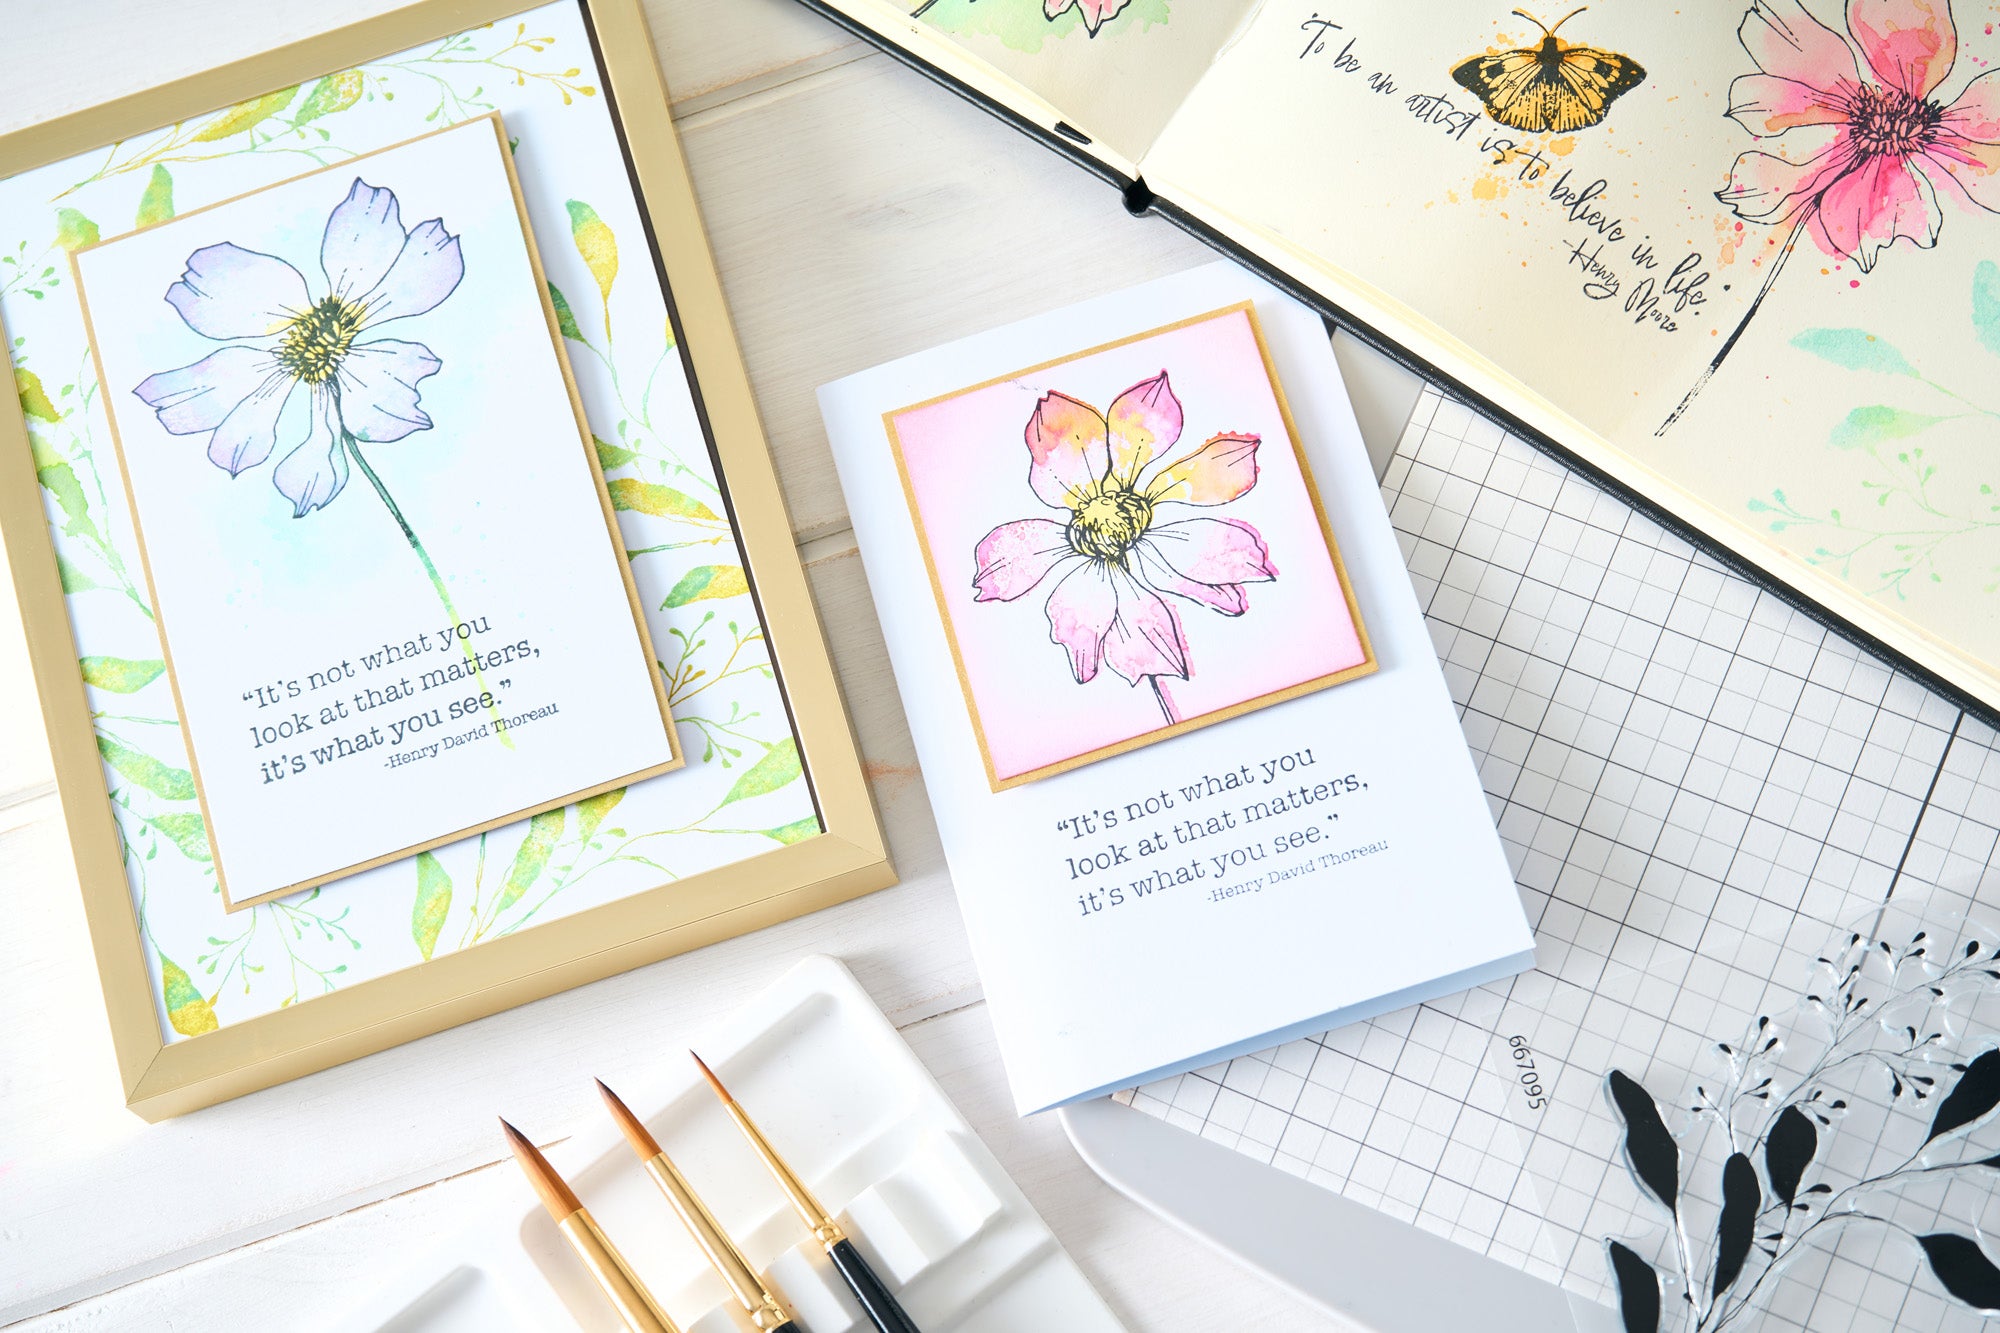
Using a sentiment stamp and black stamping ink, add your sentiment over your ink transfer. The square pattern acts as a grid making it easier to place your sentiment in a pleasing way. For my sentiment, I pre-printed on the card and measured roughly where the sentiment was before transferring the ink. This way is much less precise but I wanted to link my sentiment to the make itself.
Step 5.

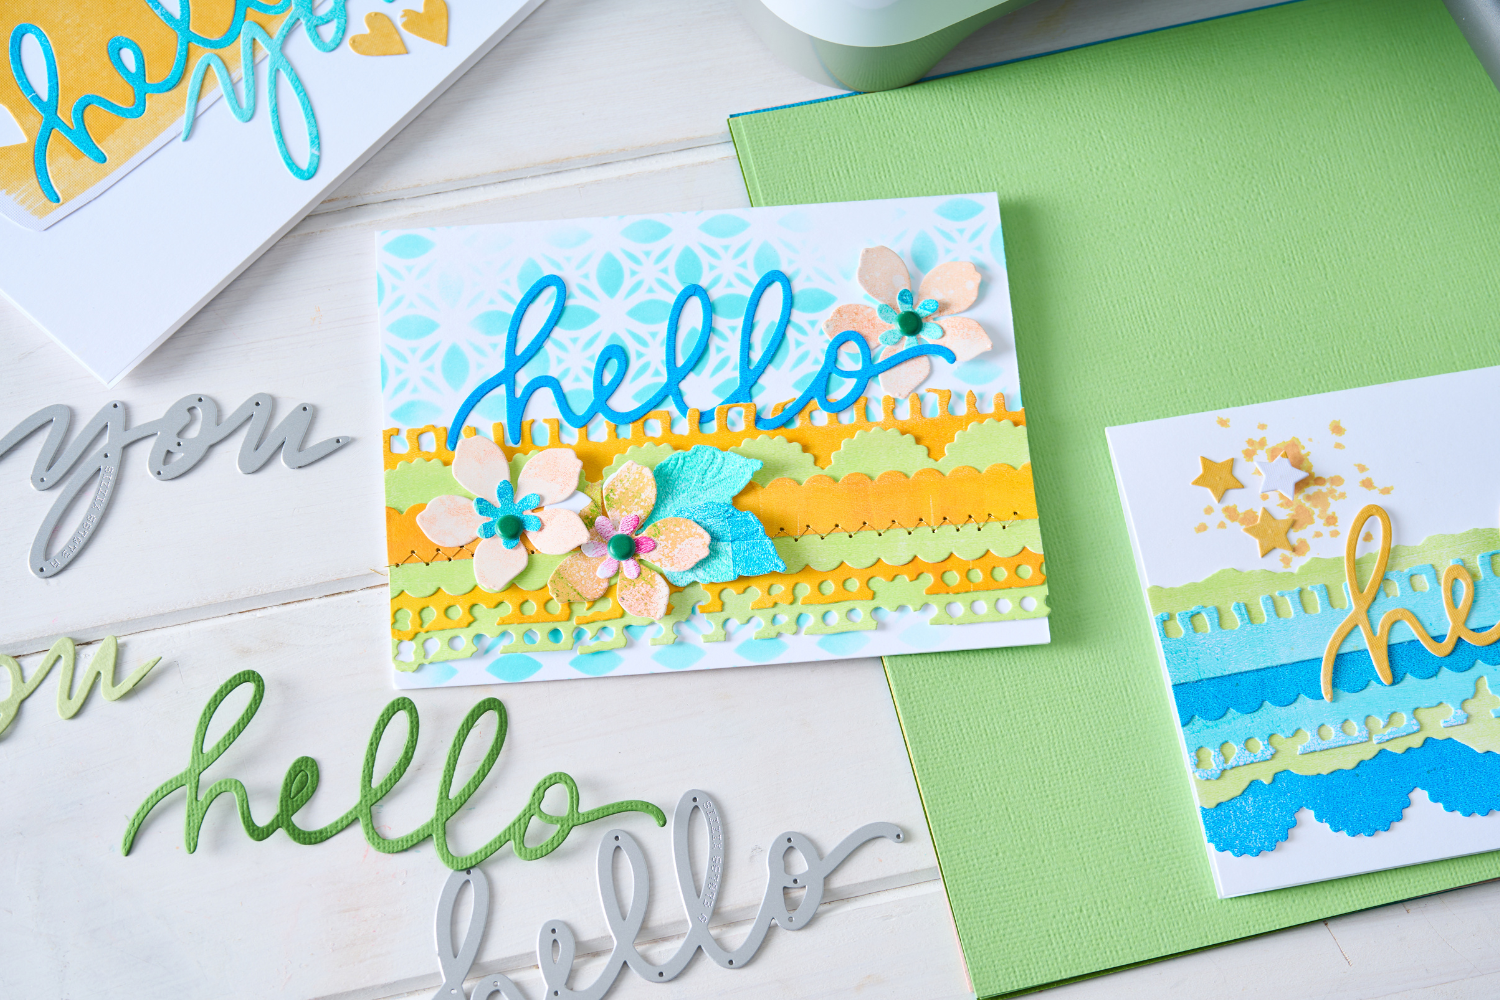
Add your inked card front to a white card base. Then die cut some of the fantastic, tiny illustrative heart embellishments from the Quirky Animals Thinlits Die Cutting Set in Lavender Dust Cardstock and adhere to the front of your card using Sizzix Foam Tape.
Once youve finished your project, give your Multimedia Mat a clean ready for the next time you want to use it! Dish soap and a water solution work great, but wed recommend using an alcohol-based solution as these offer the best clean.
-
Posted in
Papercrafts, Tutorials and Inspiration