Intricate Die-Cutting Tips and Tricks...
I don't know about you but lately when things have felt a bit crazy, I have found so much peace in detailed crafting. I'm one of those people that enjoys intricate card making and don't mind spending hours working on a card. It truly brings a sense of zen to me. Now, I know that overly detailed cards are not for everyone, but I did think it might be helpful for me to run through some of my favorite intricate die-cutting tips and tricks using the Macramé Card Front.

These little pieces of information are bound to help you when working with super intricate dies, such as our Chapter 2 Macramé Card Front Thinlits Die Set, and just might help to speed along the process while you're at it!
Keep on reading to see what products, tools and accessories I recommend to help you with those detailed, intricate dies.
What you will need:
- Sizzix® Big Shot® Machine (660200) or Sizzix® Big Shot® Switch Plus Machine & Starter Kit (663630)
- Sizzix® Thinlits® Die Set 9PK - Macrame Card Front (665892)
- Sizzix Accessory - Chrome Precision Base Plate for Intricate Thinlits Dies (660470)
- Sizzix Making Essential - Adhesive Sheets, 6" x 6", Permanent, 10 Sheets (656802)
- Sizzix Making Essential - Release Sheets, 4" x 6", 25 Pack (663575)
- Sizzix Making Tool - Die Brush & Die Pick Accessory Kit (662106)
- Sizzix Surfacez - Cardstock, Muted Colors (665695)
- Sizzix Surfacez - Opulent Cardstock Pack, Muted (665697)
Step-by-step instructions:
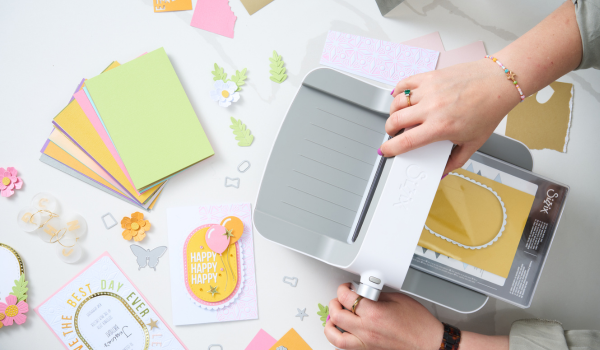
First things first, let's talk essentials. Anytime you are working with intricate die-cutting, these are the tools I would recommend having on hand. The first would be our Chrome Precision Base Plate for cutting intricate dies (only compatible with certain machines - check our machine compatibility chart for details). This plate essentially replaces your bottom cutting pad and adds a firm pressure behind the die to help achieve the perfect cut.
To make your life a bit easier I would also recommend using Adhesive Sheets for easy application of the die cut element once cut. Add one to the back of your paper before you die cut and you'll be thanking me in no time. To clean the paper from your dies, the Die Brush and Die Pick Accessory Kit offer the perfect assistance with those small or hard-to-reach places. Finally, should your paper not come out of the die easily, then before cutting I would add a Release Sheet to the mix, as they help the paper fall away easier from the die.

I'd love to walk you through a project I created using one of our newest intricate Thinlit Die Cutting Sets called Macrame Card Front. When I first saw this Die Set I knew I was going to love it! But I also knew it was going to need some special tools to make the die cutting easier for me. I first backed my Cardstock with an Adhesive Sheet and then I ran it through my Big Shot Die Cutting Machine using the Chrome Precision Base Plate. This particular die element gives you all the basic pieces you need to begin building your own customized macrame piece.

Next, I began to cut some of the decorative elements as I wanted to create another layer for the macramé piece. I found that cleaning the die cut out of the Die using the Die Brush and Die Pick Accessory Kit made the process go by quickly. Simply place your Die face down on the mat and run the Die Brush along the back a few times. This should push out all the negative pieces and also release your die-cut. If any stragglers remain behind in the Die or die cut you can then use the Die Pick to clean them out.

What I love the most about this die set is that you can customize the colors, Cardstock and layering to include anything you'd like. Want to create one that is realistic, rainbow-themed or includes natural fibers? All of them are possible! I decided to use our new Muted and Muted Opulent Cardstock to die cut some of my layering and decorative elements for the macramé piece. Why not play around and create fun layouts each time?

Before I assemble the piece on my card front (or desired project base) I like to lay out my pieces and make sure that it is going to go together seamlessly. You want to do this so that you don't have to re-cut any elements in case you accidentally layer pieces in the wrong order.

Once I have a layout that I am happy with I then lay it out my card base to make sure it will fit before I adhere the pieces. Once I am happy then I begin to layer the elements on one at a time. As I backed them with Adhesive Sheets it will make the assembly process go quickly and without excess mess.

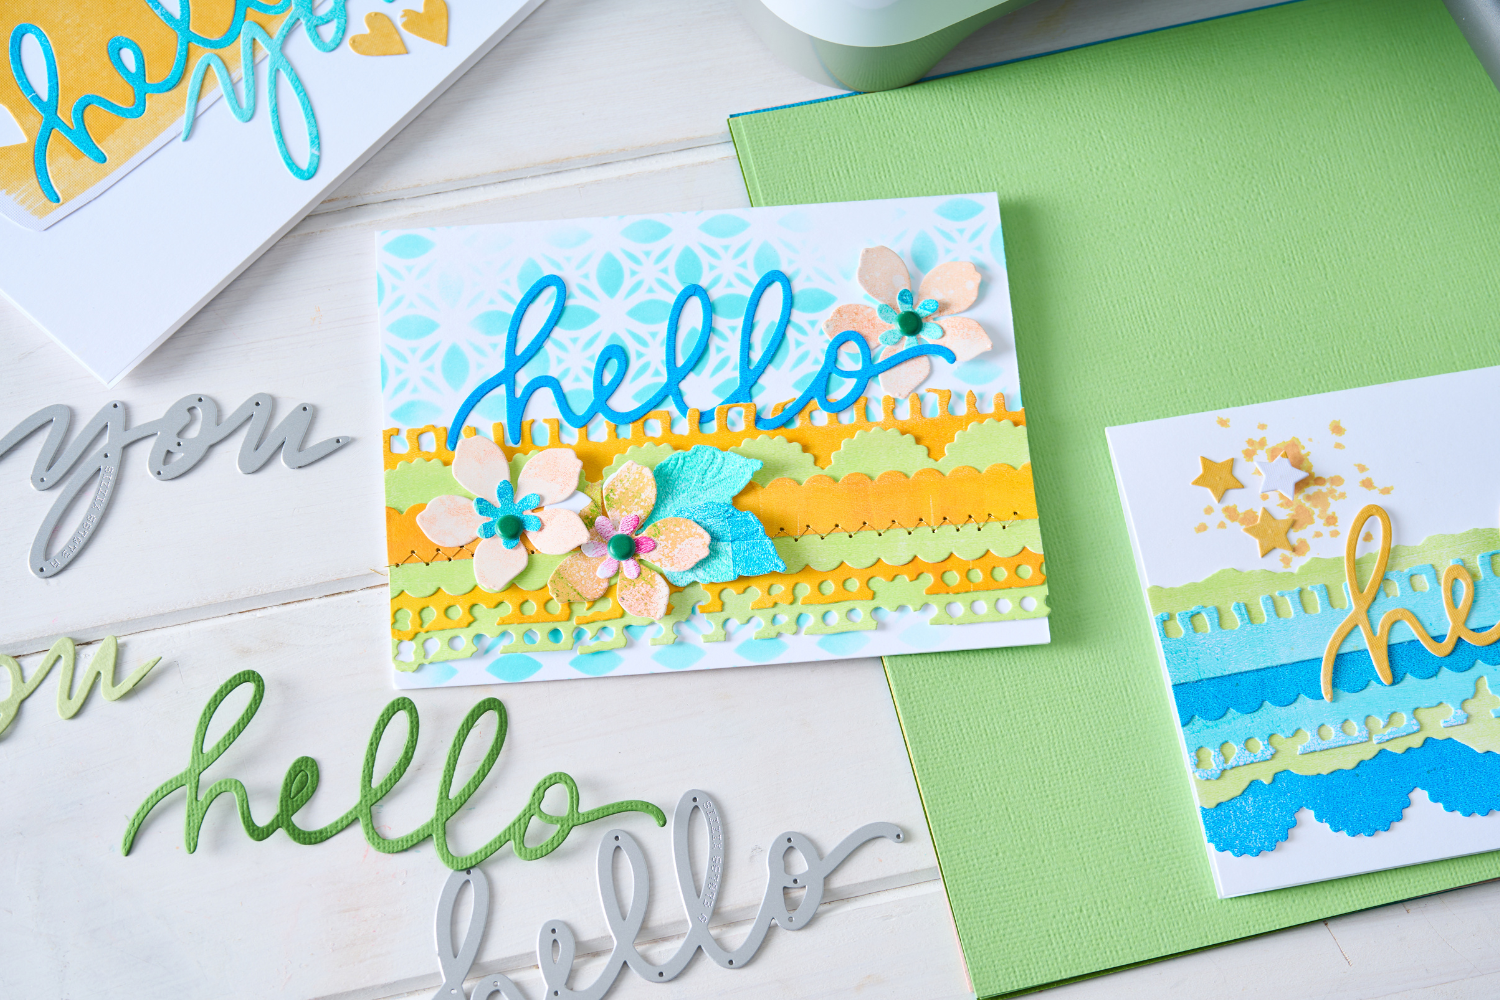
I wanted to show a few other possibilities that can be achieved with this die set. On this pink card, I laid my pieces on a piece of Cream Cardstock and then trimmed away the excess before I applied the macramé piece and tassels to the card front. This way the pink card base didn't show through to the front and I had a nice uniform element.

In this turquoise example, I wanted to create a repeat pattern. You have to play around with the base elements to get the right layout in order to make this one work, but I loved how it turned out!

You can also add decorative edges to create different patterns as I did with the extra pink and turquoise beaded pieces in the example above. There are endless ways you can create your own unique patterns and colorways and I can't wait to see what you all come up with!

If you are interested in any of the products, tools or accessories I have shown above you can use my code ALEXIS20 to receive 20% off the items I have shown today!
Until next time, happy crafting!
Alexis
-
Posted in
Home Décor, Tutorials and Inspiration