Pop-Up Flower
Take a look at this beautiful die set for Chapter 2, get ready this chapter is not to be missed! Interactive pop-up dies are so much fun to receive. Opening a handmade card to find a beautiful pop-up element really shows how much extra effort the maker has gone to to add something special. Our fantastic designers at Sizzix have created some lovely 3D die designs in Chapter 2 2021. Of course, part of the fun is in the die-cutting and building of these amazing dies. The Pop-Up Flower is a particularly clever design. Here's a quick guide to putting it together. Hope you enjoy!
you will need:
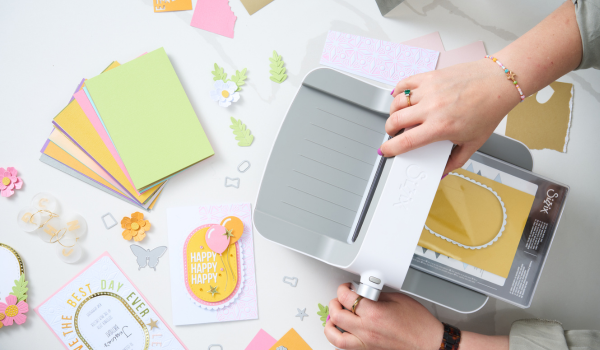
- Sizzix® Big Shot Machine or Sizzix Big Shot Plus Machine or Sizzix Big Shot Express Machine or Sizzix Big Shot Foldaway Machine
- Sizzix Thinlits Die Set 10PK - Pop-Up Flower
- Sizzix Surfacez - Cardstock, 8 1/4" x 11 3/4", 20 Assorted Colors, 80 Sheets
- Sizzix Making Essential - Express Glue, 120ml
- Sizzix Making Essential - Adhesive Sheets, 6" x 6", Permanent, 10 Sheets (Optional)
Step 1.

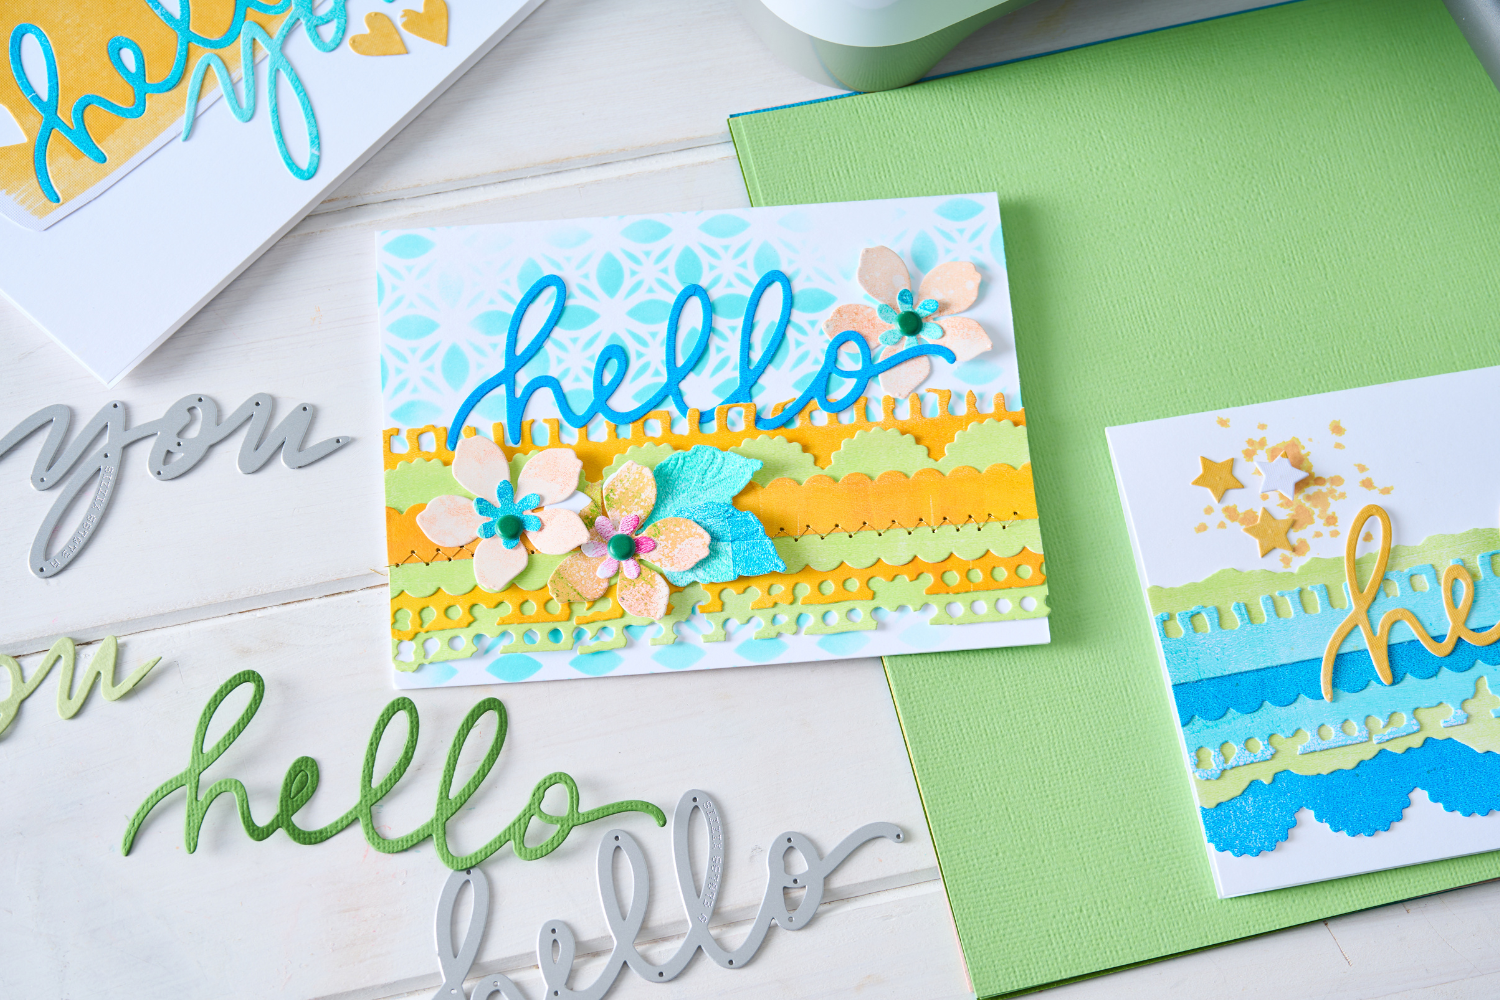
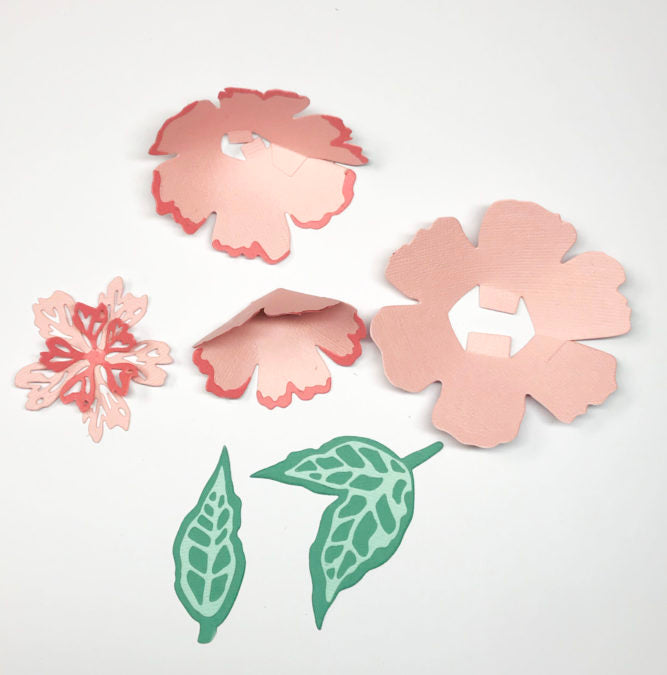
Gather all the colors of cardstock you will use. I chose colors in the same color family for the floral elements and then again for the leaf elements. The Color Story card colors made this really easy!
Step 2.

Die cut all the elements in your chosen colors. The floral detail elements such as the ends of the petals and leaf innards should stand out from the base shapes. I cut my leaves from a green card from the Sizzix festive card pack, with Mint Julep card for the details. For the floral elements, I used Ballet Slipper card from the Sizzix colored card pack for the main elements, and Sorbet card pack for the details.
Step 3.

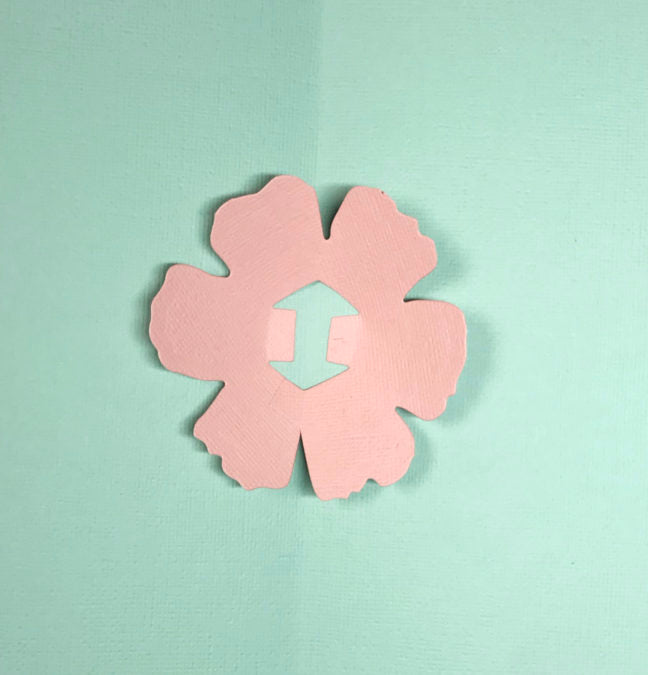
Take your floral base elements. Each die-cut element has a tab on one side. curl the element in on itself and adhere the tab to the other end to create a full flower. This will create structure and dimension. Repeat this with each of the three floral elements.
Step 4.
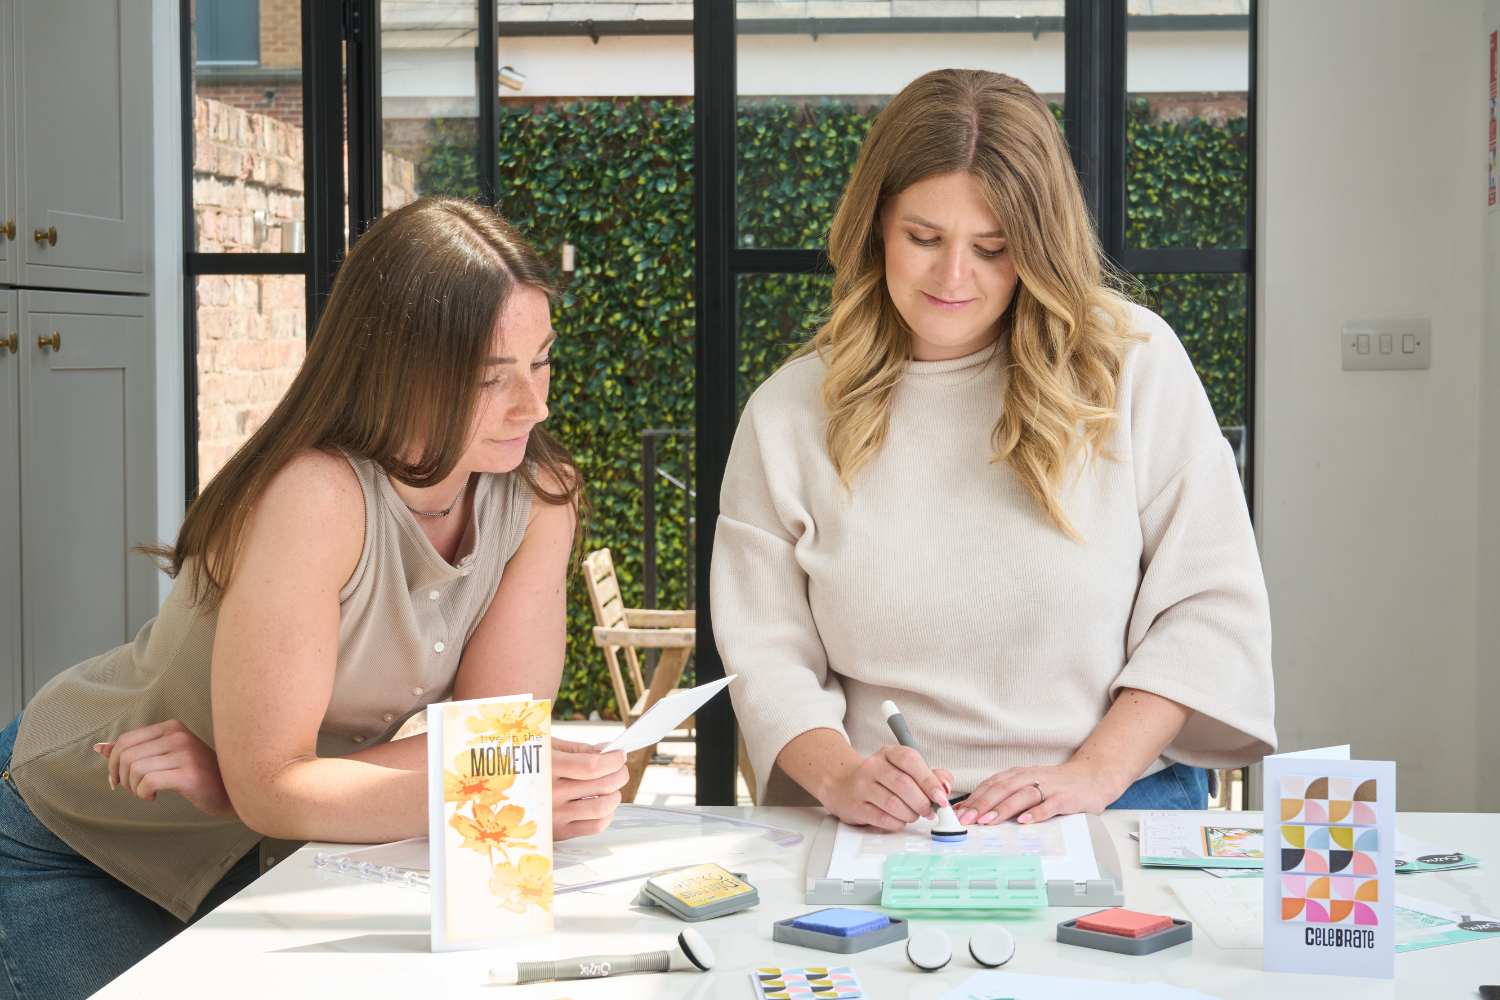
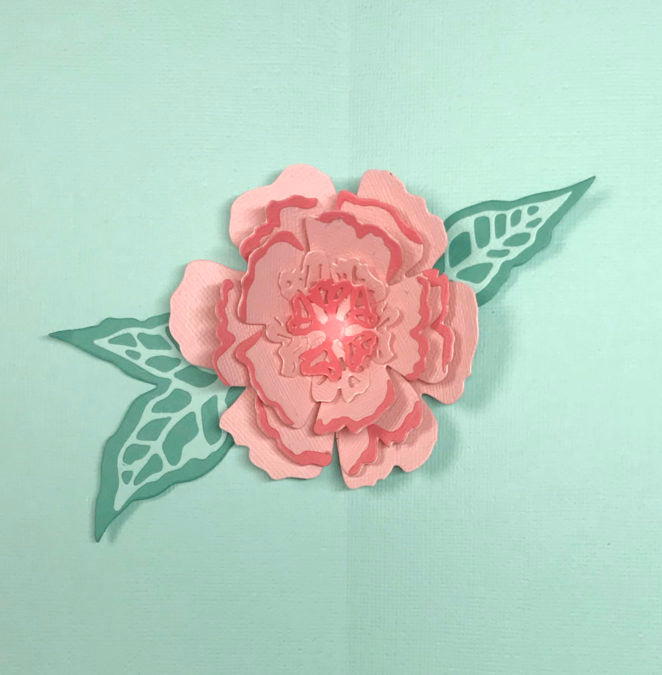
Layer your die-cut elements. For these detail elements, it's definitely worth considering applying one of our Sizzix Adhesive Sheets to the card and then die cutting. Then peeling back the protective layer and adhering. The Adhesive sheets cut out the need to apply adhesive to the detailed die-cut elements. They also allow the elements to be re-positioned once stuck.
Step 5.
Fold your card base in half. For mine, I used a sheet of Mint Julep Sizzix card. Along the fold line, adhere your largest floral element with each tab either side of the line.
Step 6.
Repeat this with all other layered die-cut elements making sure to adhere the tabs either side of the fold line on your card base.
Step 7.

Finally, fold the card base again, flattening the flower along the fold line. The flower will now open up when you open your card base and lay flat when closed. What a fantastic, interactive dimensional pop-up element!
Thank you for ready this blog, we really hope you enjoyed it!
Remember to visit our social channels to see regular ideas and inspiration! Share your makes with us using the hashtag #mymakingstory.
-
Posted in
Cardmaking, Tutorials and Inspiration