Easter Icon Card
Sizzix designer Joh has an amazing new Easter Icon card with step by step instruction, ready for your Easter Crafting!
Easter is such a fantastic opportunity to create fun projects and Sizzix provide the BEST Easter dies to work with. I am a massive fan of these Easter character die sets that come with all the added embellishments like eggs, carrots, flowers etc and no one makes them like Sizzix. This was a perfect opportunity to use one of our new Chapter 1 dies and I had so much fun making it. Have a Happy Easter everyone!

What you will need
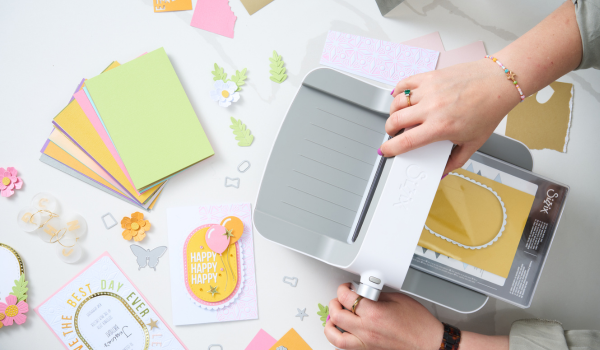
- Sizzix Big ShotMachine or SizzixBig ShotPlus Machine or SizzixBig Shot Express Machine or Sizzix Big Shot Foldaway Machine
- Sizzix Thinlits Die set Easter Icons
- Sizzix Cardstock, 8 1/4" x 11 5/8", 20 Assorted Colors, 80 Sheets
- Sizzix Surfacez - Patterned Paper, 8 1/4" x 11 3/4", Color Story, 80 Sheets
- Sizzix Neutral Card Pack
- Sizzix Fold and form tool
- Sizzix Express glue 120ml
- Sizzix Making Essential - Foam Tape
- White Card
- Paper trimmer
How to make
1.Begin by die cutting the bunny and chick elements from the Easter Icons thinlits die set. Build up the layered elements. I cut my bunny from the mid grey from the Neutral Cardstock pack. The belly fur element is from the cream card and the inner ears, cheeks and nose are cut from Ballet Slipper. The chick was cut from Banana Blast and the details from Mango Tango and primrose.
2.Cut the sentiment from Earl Grey cardstock from the colored cardstock pack.
3.Cut a large circle from white card using a large circle framelits die. I used a Framelits with a diameter of 4 inches.
4.From patterned paper, cut a 4 x 5 ½ inch rectangle. Lay your die cut circle over the edge to that it hangs over by approximately half an inch. Mark a line using the side of the patterned paper and trim using a paper trimmer. Apply foam tape to the back of the cut circle element and adhere to the front of your patterned card so that it is centred from top to bottom and the straight cut edge lines up with the right side of the patterned paper.
5.Position your layered bunny, chick and sentiment from the Easter icons die set as seen in the image.
6.Fold a sheet of A4 white card in half using the fold and form tool and a ruler to create the crease. Using a paper trimmer, trim the card so that it is approximately 4 ¼ inches in width and 5 ¾ inches in height when folded.
7.Using 3D Foam Tape, adhere your layered elements so that the rectangle of patterned card is centred.

I hope you had as much fun creating this card as I did!
Share your makes with us using the hashtag #mymakingstory, at Sizzix we love to see what all of our customers are crafting and creating!
-
Posted in
Cardmaking, Tutorials and Inspiration