Spring Blooms with Sizzix Crepe Papers
I may or may not have a slight obsession with all things floral. When we first introduced Crepe Paper to the Sizzix product library last year I was so excited to begin making flowers with the Sizzix Surfacez! Each release our talented product designers bring out new flower designs to work with our crepe paper packs and Chapter 1's Spring Bloom is the newest addition to our flower collection. Below I walk you through step by step on how to assemble this bloom, so keep reading on to see this tutorial.
I'm so excited for you all to see how easy it is to create Spring Blooms with Sizzix Crepe Papers!

What you will need:
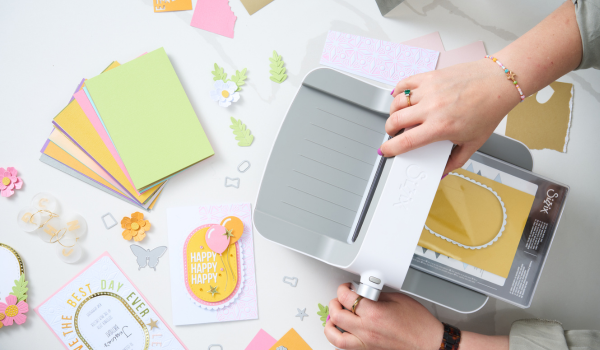
- Sizzix® Big Shot® Machine
- Sizzix® Thinlits® Die Set 5PK Spring Bloom
- Sizzix® Accessory Glue Gun Sticks, 6", Clear, 20PK
- Sizzix® Surfacez Crepe Paper, 12" x 24", Serenity, 10 Sheets
- Sizzix® Accessory Glue Gun (663550 US/ 662301 UK)
- Floral Tape
- Floral Wire
- Wood Bead

Die-cut out of a desired crepe paper, 10-12 large petals, 8-10 medium petals, 6-8 small petals and 1-2 flower bases from the Spring Bloom die set.

Bring your petals to life by manipulating them into realistic shapes. For these particular petals you can use your thumbs to pull the crepe paper into a cupped shape horizontally with your two thumbs. To create additional rippled edges by pulling the upper ridge of the petal apart in small areas.

Adhere a wood bead (or another type of sphere-shaped bead or foam ball) to the end of a thick gauge floral wire with hot glue. Let the glue dry before adding on petals.

You can cover the entirety of the bead with crepe paper, adhering it in place and cutting away any excess, or you can wrap the smallest petals around the bead to cover it completely.

Begin placing adhesive around the lower edge of the petal and adhering the small petals around the wood bead in a circular pattern until you have applied all small petals to the flower. Layer the medium petals around the smaller petals, adhering the bottom edge of each petal around the lower half of the flower with hot glue. Place petals in a desired pattern to achieve a realistic looking floral by pulling away the medium petals from the center to create the appearance of an open bloom.

Repeat the same process as the medium petals with the large petals, adhering the lower edge of the petal closer to the floral wire at the base of the flower. Adhere with hot glue to allow for a firm grip. Once dry you can pull the petals away to create and even bigger open bloom.

Pierce the center of the die cut flower base(s) with a die pick, pull them up the floral wire to the base of the flower and adhere them into place with hot glue. You can then manipulate the crepe paper to have the leaves take on different shapes. If desired then wrap floral tape down the entirety of the wire to create a sturdier finished bloom.

Repeat the above steps in a variety of crepe paper colors and you can easily brighten your home with a colorful bouquet that will last all year round!

I hope you are inspired to create your own everlasting spring blooms with Sizzix Crepe Papers this coming spring and summer. I can't wait to put these up with some of my other home decor makes!
Don't forget to use my Discount code ALEXIS20 if you want to get your hands on any of the products I have used for these Spring Blooms!
Until next time...happy crafting!
Crafted by Sizzix Designer Alexis Trimble
-
Posted in
Home Décor, Tutorials and Inspiration