Spring Label Cards
Jen Long is notorious for creating some of my favorite card bases, and the Card Label Die set is quickly becoming one of my new staples. This simple shape lends itself to year round use, but also comes with the sweetest florals and hearts to get you started with simple embellishment.
I wanted to create a Spring Label Card to embrace the beautiful spring days ahead and give you all a step by step on how to assemble the newest card shape to the Sizzix family! Keep reading to see how I created this make.

- Sizzix® Big Shot® Machine or Sizzix® Big Shot® Plus Machine or Sizzix® Big Shot® Foldaway Machine
- Sizzix Clear Stamps 5Pk Spring Sentiments
- Sizzix® Thinlits® Die Set 7PK Card Label, Fold-a-Long by Jen Long
- Sizzix® Making Essential Embossing Ink Pad, Clear
- Sizzix® Making Essential Express Glue, 120ml
- Sizzix® Making Essential Foam Tape
- Sizzix® Making Essential Funnel Tray
- Sizzix® Making Essential Ink Pad, Black (Pigment) & Acrylic Block
- Sizzix® Making Essential Opaque Embossing Powder, Lavender Dust, 12g
- Sizzix® Making Essential Opaque Embossing Powder, Sorbet, 12g
- Sizzix® Making Tool Curved-Fine Tip Tweezers
- Sizzix® Tool Heat Tool, Dual Speed
What you will need:

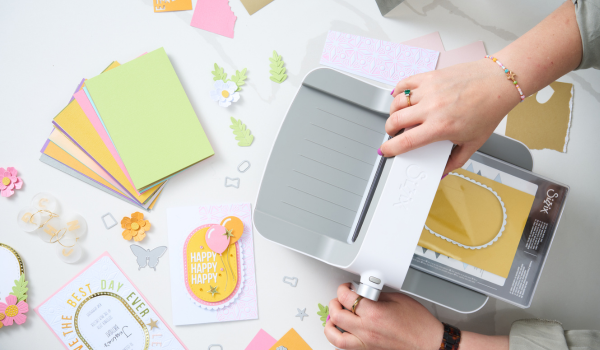
Die-cut out of a desired cardstock color two of the base elements from the Card, Label die set.

Align the center portion of the two card elements and adhere them together with a chosen adhesive, making sure that each straight edge of the outer flaps are facing opposite of one another.

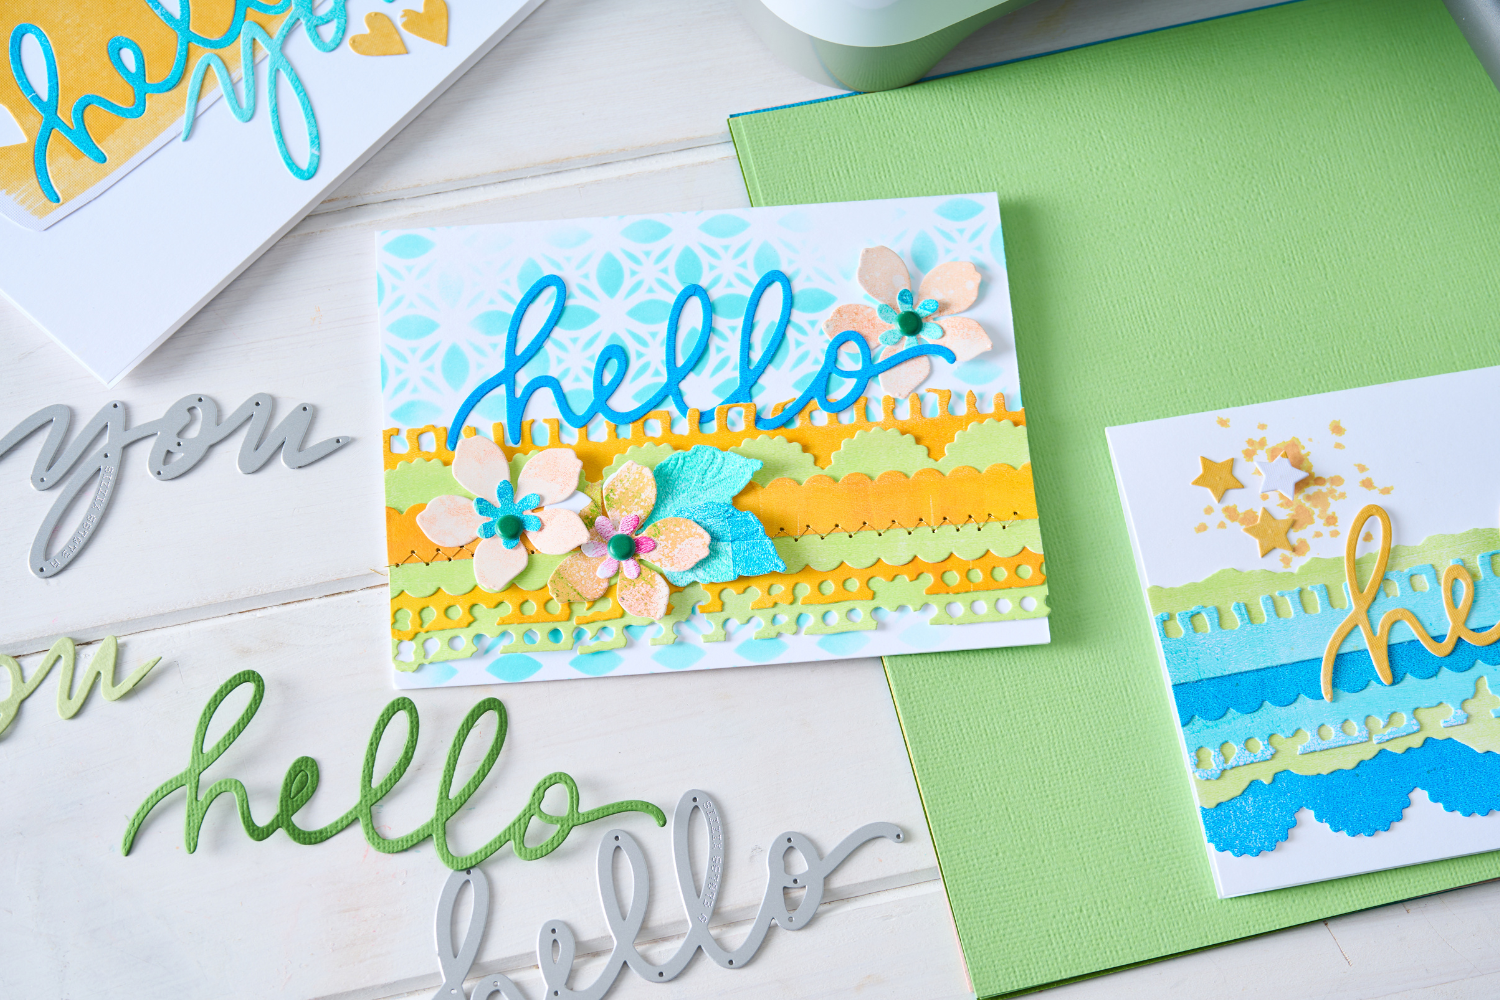
Die-cut out of chosen cardstock colors the largest and smallest labels, two foliage elements and a variety of colorful floral layering elements from the Card, Label die set.

With liquid adhesive and a pair of tweezers layer the flowers on top of the foliage elements.

To create a bit of texture, add embossing ink to the largest label frame and two small flowers by pressing the die cuts in to the clear embossing ink with a pair of tweezers. Then place the label frame into a Funnel Tray and cover it with a matching embossing powder. I have used Lavender Dust on my card today.
Heat set the powder with a Heat Tool until the powder has melted. Then repeat the steps again to create an enamel effect with the powder. Repeat the same process on the two die cut flowers using a different shade of embossing powder. I have used Sorbet powder on my two small flowers.

Stamp a sentiment from the Spring Sentiments to the smallest label shape.

Align the largest label shape along the matching embossed lines on the front of the card panels. Once aligned apply adhesive to only one side of the panel so that it will not glue the card shut. This way your label shape will only adhere to one side of the two panels.

Align the label shape frame around the label on the card front and then adhere the label shape frame to the opposite card front panel. This will create the ability for the label shapes to create a clasp that will keep the card closed when they are put together.

Interlock the label shape and the label shape frame to close the card together.

Decorate the remainder of the card with the floral and foliage elements and stamped label. I adhered mine into place with foam tape to add a bit of dimension to the finished card.

I hope you enjoyed this little step by step tutorial on the new Card, Label from Jen Long. I can see myself using this all year! I'm even thinking of using it to create some baby shower invitations for my best friend in the spring.
Also, don't forget to use my Discount code ALEXIS20 if you want to get your hands on any of the products I have used for this Spring card make!
Until next time...happy crafting!
Crafted by Sizzix Designer Alexis Trimble
-
Posted in
Papercrafts, Tutorials and Inspiration